Do you need to inflate an exercise ball? Looking for simple stability ball pump steps or help with how to inflate a yoga ball? Yes, this guide will show you exactly how to inflate your gym ball correctly, whether it’s an exercise ball, yoga ball, or birthing ball, using different pumps like a manual pump exercise ball or an electric pump gym ball. We will cover everything from finding the valve for gym ball to putting in the gym ball plug, giving you clear inflate stability ball instructions.
A gym ball is also called a stability ball or an exercise ball. It’s a round, soft ball. People use it for many things. You can sit on it. You can do exercises on it. It helps make your body stronger. It’s good for your core muscles. Some people use it when they are pregnant. They call it a birthing ball. No matter what you call it, you need to put air in it. This is called inflating the ball. Putting air in seems easy. But doing it right is important. If you put in too much air, the ball can pop. If you don’t put in enough air, it’s too soft. A soft ball is not good for exercises. It doesn’t help your body the right way. So, let’s learn how to inflate your ball perfectly.
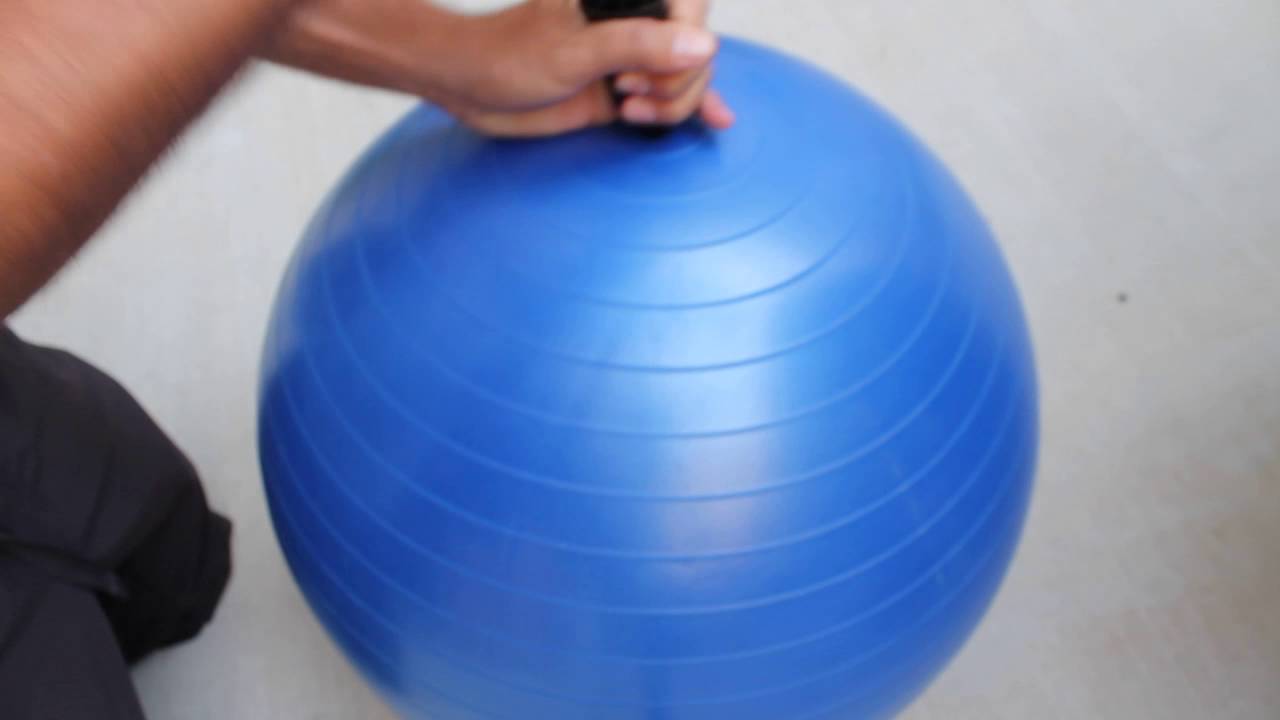
Image Source: i.ytimg.com
Getting Ready to Inflate
Before you start, get things ready. This makes the job easy. You need your ball. You need a pump. You need the little plug that came with the ball. The plug is small. It stops the air from coming out. Keep it safe.
Finding the Right Spot
Pick a clean spot. Find a clear area on the floor. Make sure there are no sharp things. Sharp things can hurt the ball. The ball is made of rubber or plastic. It can get a hole. A hole means the air comes out. That is not good. So, find a nice, flat, clean space.
Checking Your Ball
Look at your ball. Is it new? Or is it old? If it is new, it might be folded up. The air is all out. If it is old, it might just need more air. Check for holes. Feel the ball all over. If you find a hole, you might need a patch kit. Sometimes small holes can be fixed. Big holes mean you need a new ball.
Also, know the size of your ball. Balls come in different sizes. The size is often written on the ball or the box. Sizes are usually in centimeters. Like 55 cm, 65 cm, or 75 cm. The size is important for how much air to put in. We will talk about this later.
Finding the Valve
Every gym ball has a hole. This hole is where you put the air in. This hole is called the valve. It usually looks like a small rubber piece. It might be flat against the ball. Look around the ball. Find this small hole. It’s often near the top when the ball is sitting flat. But when it’s empty, it could be anywhere. Feel for it. It feels like a little rubber bump or flap. This is the valve for gym ball.
Inside the valve is often a small opening. This is where the pump goes. Keep this area clean.
Picking Your Pump
You need a pump to put air in the ball. There are different kinds of pumps. The ball usually comes with a small pump. But you can use other pumps too.
Manual Pumps
A manual pump exercise ball is a common type. These pumps need you to use your hands or feet. You push air into the ball yourself.
Hand Pump
Many balls come with a small hand pump. It looks like a bicycle pump but smaller. It has a hose. The hose has a tip. The tip fits into the ball’s valve. You push a handle up and down. This pushes air out of the pump and into the ball.
- How to use a hand pump:
- Find the valve on your ball.
- Take the small tip from the pump hose.
- Put the tip gently into the valve opening. It should fit snugly.
- Start pumping the handle up and down.
- You will see the ball start to get bigger.
- Keep pumping.
- Watch the ball grow.
- Pump until the ball is almost full.
- Take the pump tip out quickly.
- Be ready with the plug.
A hand pump is simple. It doesn’t need power. You can use it anywhere. But it takes work. Your arms might get tired. Inflating a big ball from flat takes time.
Foot Pump
Some manual pumps are foot pumps. These sit on the floor. They have a bag that fills with air. You push down on the bag with your foot. This pushes air through a hose and into the ball.
- How to use a foot pump:
- Put the foot pump on the floor.
- Find the valve on the ball.
- Put the pump hose tip into the valve.
- Press down on the foot pump with your foot.
- Lift your foot. The bag fills with air.
- Press down again. Air goes into the ball.
- Keep pressing and lifting.
- Watch the ball get firm.
- When it’s nearly full, take the tip out fast.
- Put the plug in right away.
A foot pump uses your leg muscles. This might be easier for some people than a hand pump. It also doesn’t need power.
Electric Pumps
An electric pump gym ball is much faster. These pumps plug into a wall outlet or use batteries. They do the pumping for you.
Small Electric Pumps
There are small electric pumps made for air beds or balls. They have different sized tips. Find the tip that fits your ball’s valve.
- How to use a small electric pump:
- Find the correct tip for the valve.
- Attach the tip to the pump.
- Find the valve on the ball.
- Put the tip into the valve opening.
- Plug the pump in or turn it on.
- The pump will start blowing air.
- Watch the ball fill up very fast.
- Stop the pump when the ball is almost done.
- Take the tip out fast.
- Get the plug ready to put in.
Electric pumps are quick. They don’t make you tired. But they need electricity or good batteries. They can also make the ball fill too fast if you aren’t watching. You can easily over-inflate with these.
Other Pumps
Sometimes people ask if they can use other pumps. Can I use a bike pump? Can I use a pump for car tires? Maybe. But be careful. These pumps can put a lot of air in very fast. They might use high pressure. This high pressure can damage your ball. Gym balls need low pressure but a lot of air volume. Bike pumps and tire pumps are often high pressure, low volume. It is best to use a pump made for exercise balls or air beds. A stability ball pump made for this purpose is always the safest choice.
Step-by-Step Inflation Guide
Here are the steps for inflate exercise ball using a typical pump. These are your inflate stability ball instructions.
Step 1: Get Your Ball Ready
Lay the ball on your clean, flat floor space. Unfold it if it’s new. Let it sit flat.
Step 2: Find the Valve
Look for the small valve opening. It’s usually a little piece of rubber on the ball.
Step 3: Prepare Your Pump
Get your pump ready. If it’s a manual pump, make sure the hose is connected. Find the right tip. It’s usually a small, firm plastic cone shape or a needle. If it’s electric, pick the right tip and plug it in or turn it on.
Step 4: Put the Pump Tip in the Valve
Gently push the correct pump tip into the valve opening on the ball. Don’t force it. It should fit. Push it in far enough so air goes into the ball, not out.
Step 5: Start Pumping
- Manual Pump: Start pumping the handle up and down or pressing the foot pedal.
- Electric Pump: Turn the pump on.
Watch the ball. It will start to get bigger. If it’s a new ball, it will look very wrinkly at first. Keep going.
Step 6: Pump Most of the Way Full
Keep pumping air into the ball. The ball will get bigger and rounder. It will start to look less wrinkled. When the ball looks mostly round but still feels a bit soft, stop pumping for a second.
If it’s a new ball, manufacturers often say not to inflate it fully the first time. Inflate it to about 80% of its size. Let it sit for 24 hours. This lets the material stretch slowly. Then you can add more air the next day. This helps the ball last longer. Check the instructions that came with your ball.
If it’s a ball you already used, just inflate it until it looks full and feels firm.
Step 7: Check the Size (Important!)
How do you know when it’s full enough? Don’t just pump until it’s hard as a rock. That can be too much.
The correct size depends on the ball’s diameter. Remember we talked about sizes like 55 cm, 65 cm, 75 cm?
A simple way to check: Measure from the floor to the top of the ball. Use a measuring tape. Or, if your box had a measuring strip, use that. Inflate until the ball reaches the right height for its size.
Another way: When you sit on the ball, your knees should be at a 90-degree angle. Your thighs should be parallel to the floor. Your feet should be flat on the floor. If your knees are higher than your hips, the ball is too soft or too small. If your hips are much higher than your knees, it’s too hard or too big. This sitting test is a good way to check if the inflation is right for you.
- For Exercise: The ball should be firm. Not super hard, but firm. When you push on it with your hand, it should bounce back well. It should hold its shape. A soft ball wobbles too much. It doesn’t give good support.
- For Sitting: It should be firm enough to sit on comfortably with the correct leg angle (knees at 90 degrees). It might be slightly less firm than for exercise, depending on your comfort.
- For Birthing Ball Use: Often, a birthing ball is inflated so it’s firm but has some give. You should be able to bounce gently. The sitting rule (knees at 90 degrees) still applies. Check with your healthcare provider for their suggestion.
Step 8: Quickly Remove the Pump and Insert the Plug
This is a key step. Once the ball is inflated enough, pull the pump tip out of the valve quickly. Air will start to escape! You need to be fast.
Immediately take the small gym ball plug. Push it firmly into the valve opening. Push it all the way in. Make sure it is sealed tight. You shouldn’t hear or feel air coming out anymore. The plug acts like a cork.
Step 9: Check the Seal
Push on the plug with your finger. Does it feel secure? Turn the ball over. Is air leaking? If the plug is in tight, no air should leak.
Step 10: Final Adjustment (If Needed)
Sit on the ball. How does it feel? Are your knees at 90 degrees? Is it too hard? Too soft?
- Too Hard: If it’s too hard, you need to let some air out. Use the plug remover tool (often comes with the ball/pump) or something thin but not sharp (like the back of a pen or the pump tip itself if it’s blunt) to gently pry the plug out a little. Let a little air hiss out. Put the plug back in. Test again. Repeat until it feels right.
- Too Soft: If it’s too soft, you need to add more air. Take the plug out. Put the pump tip back in. Pump a few more times. Take the tip out. Put the plug back in. Test again.
Take your time to get the inflation just right. It makes a big difference in how you use the ball.
Specific Inflation Tips
Let’s look at some specific cases, like yoga ball inflation or using a birthing ball pump.
Yoga Ball Inflation
A yoga ball is often the same as an exercise ball or stability ball. So, the steps above work perfectly for how to inflate yoga ball.
The main thing for yoga is having the right firmness. For many yoga moves, the ball needs to be stable. If it’s too soft, it will wobble too much. If it’s too hard, it might roll away too easily or be uncomfortable for certain poses.
Use the sitting test. Sit on the ball. Make sure your knees are at about a 90-degree angle. This height is usually good for yoga. Then check the firmness. It should feel solid when you sit or lean on it.
Inflating a Birthing Ball
A birthing ball is also a type of gym ball. It’s usually larger, like 65 cm or 75 cm. The process using a birthing ball pump (which is just a regular ball pump) is the same.
- Find the valve.
- Put the pump tip in.
- Pump air (manual or electric pump gym ball).
- Check the size. Use the sitting test – knees at 90 degrees is important for comfort during labor. The ball should be firm enough to support your weight well, but maybe not rock hard. You will likely want to bounce gently on it.
- Remove the pump fast.
- Put the plug in tight (gym ball plug).
Using a birthing ball during pregnancy or labor can help with comfort and position. Proper inflation is key for safety and getting the most benefit.
Grasping Ball Size and Inflation Level
The size of the ball and how much you inflate it are linked. A ball labeled 65 cm should be about 65 cm tall when measured from the floor to the top (when you are not sitting on it).
Here’s a general guide for ball size based on height:
| Your Height | Ball Diameter |
|---|---|
| Under 5’0″ (152 cm) | 45 cm |
| 5’0″ – 5’5″ (152-165 cm) | 55 cm |
| 5’6″ – 6’0″ (168-183 cm) | 65 cm |
| Over 6’0″ (183 cm) | 75 cm |
Note: This is a general guide. Always check the ball’s instructions. The sitting test is the best way to find the perfect inflation for you.
If you inflate a 65 cm ball to be only 55 cm tall, it’s too soft. If you try to inflate a 65 cm ball until it’s 75 cm tall, you will overstretch it. This is dangerous. It can pop.
So, when inflating, aim for the labeled size. Then, sit on it and check your knee angle. Adjust slightly if needed to get that 90-degree bend. This balance gives you the right height and firmness.
Potential Issues and Simple Fixes
Things can sometimes go wrong when you inflate exercise ball.
Air Leaks While Pumping
- Problem: You are pumping, but the ball isn’t getting big. Air might be escaping where the pump tip goes into the valve.
- Fix: Push the pump tip further into the valve. Make sure it’s straight. The tip needs to make a tight seal with the valve opening.
Air Leaks After Plugging
- Problem: You put the plug in, but you hear a hiss. Air is coming out around the plug or the valve.
- Fix: Take the plug out. Check the valve opening for dirt. Check the plug for damage. Re-insert the plug firmly. Push it all the way in. Wiggle it slightly to help it seal. If it still leaks, the valve or plug might be faulty. Contact the ball’s maker. Make sure you used the correct gym ball plug that came with the ball or a replacement made for it.
The Ball Won’t Get Firm Enough
- Problem: You are pumping and pumping, but the ball stays soft.
- Fix: Are you using the right pump? A small hand pump takes a long time for a big ball. Keep going! If using an electric pump, is it turned on? Is the pump tip seated correctly in the valve? If you pump for a long time and it’s still very soft, maybe there is a slow leak you can’t see or hear easily. Or the ball material might be stretched out if it’s very old.
The Ball Looks Lopsided or Has Bumps
- Problem: As you inflate, the ball looks uneven.
- Fix: This is common with new balls. The material was folded. As it inflates, it will smooth out. Keep pumping slowly. If it’s a very old ball and it looks lopsided, the material might be weak in spots. Be careful not to over-inflate.
Over-Inflation
- Problem: You put too much air in. The ball feels rock hard. It might look like an egg shape instead of a perfect circle. This is very dangerous. The ball can burst.
- Fix: STOP PUMPING immediately! Let air out. Gently remove the plug a little bit. Let air hiss out slowly. Put the plug back. Check the firmness and size again. It’s better to have it a little soft than too hard. Never inflate past the ball’s recommended size.
Deflating Your Gym Ball
Sometimes you need to let the air out. Maybe you need to store the ball. Or you want to travel with it.
Step 1: Remove the Plug
Use the small plastic plug remover tool that came with the ball. It looks like a small, flat fork. If you don’t have one, you can use something similar. A blunt tip from a pen or the pump tip can sometimes work. Be very careful not to poke the ball itself. Gently slide the tool under the edge of the plug and pry it up.
Step 2: Let the Air Out
Once the plug is out, air will rush out of the valve opening. You can squeeze the ball or push on it to help the air come out faster. For full deflation, you might need to squeeze it quite a bit to get all the air out.
Step 3: Store the Ball
Once empty, you can fold or roll the ball. Store it in a safe place away from sharp things, heat, and direct sunlight.
Caring for Your Inflated Ball
Taking care of your ball helps it last longer.
- Keep it Clean: Wipe it down with mild soap and water if it gets dirty. Rinse and dry it well.
- Keep it from Sharp Objects: Be careful where you use and store it. Avoid rough surfaces.
- Keep it from Heat: Don’t leave it in a hot car or in direct sun for a long time. Heat can damage the material or make the air inside expand, leading to over-inflation.
- Check Air Level: Balls naturally lose a little air over time. Check the firmness every few weeks or before each use. Add a little air if it feels soft.
Regularly checking and adjusting the air level (using your stability ball pump) ensures your ball is always ready for perfect use. Knowing your how to inflate yoga ball process, your birthing ball pump steps, and how to use a manual pump exercise ball or electric pump gym ball means you can keep your ball in top shape. Always keep the gym ball plug and any valve for gym ball accessories in a safe place.
By following these inflate stability ball instructions, you can master putting air in your ball. A correctly inflated ball is safe, works better for exercises, and will last longer.
Frequently Asked Questions (FAQ)
Here are some common questions about putting air in gym balls.
How often should I add air to my gym ball?
Gym balls lose air slowly over time. Check your ball’s firmness every few weeks. If it feels soft, add a little air. If you use it often, check it more often.
Can I use a bicycle pump to inflate my gym ball?
It’s not the best idea. Bicycle pumps use high pressure. Gym balls need low pressure but high volume of air. A bike pump could damage the ball by putting air in too fast or with too much force. Use a pump made for exercise balls or air beds.
What should I do if I lost the plug for my gym ball?
You need the plug to keep the air in. You can usually buy replacement plugs online or from sports stores. Make sure you get one that fits your ball. Plugs come in different sizes.
My new ball isn’t inflating to the full size. Why?
New balls are often stiff. The material needs time to stretch. Inflate it to about 80% size first. Let it sit for 24 hours. Then add more air to reach the full size. Check the instructions that came with your ball.
How do I know if my ball is the right size for me?
The best way is the sitting test. Sit on the ball. Your knees should make a 90-degree angle. Your thighs should be flat on the floor. Your feet should be flat. Adjust the ball size or inflation based on this test.
Can I use a compressor to inflate my ball?
No! Air compressors (like for car tires) put air in very fast and with very high pressure. This will almost certainly over-inflate and burst your ball. Use a pump made for exercise balls.
The valve on my ball seems stuck or hard to open. What can I do?
Sometimes new valves are tight. You can try twisting the pump tip slightly as you gently push it in. Do not force it hard. If it seems blocked, contact the ball maker. Don’t use sharp things to try and open it.
How do I store my ball when I’m not using it?
You can leave it inflated or deflate it. If leaving it inflated, keep it away from sharp things, heat, and sun. If deflating, let all the air out, fold it neatly, and store it in a cool, dry place.
By following these steps and tips, you can make sure your gym ball is always inflated correctly. This means you can use it safely and get the best results from your exercises, yoga, or other activities. Happy pumping!